How to make a Necklace Holder
If you’re anything like me, you try to lay your necklaces out nicely; however, they never fail to get all tangled up in knots. There are plenty of necklace holders that you can buy in stores, but they can be pretty pricey so I came up with a super easy DIY to make your own! You can even customize it however you like. Plus, I reused most of the materials so it helped save me money (and helped the planet!
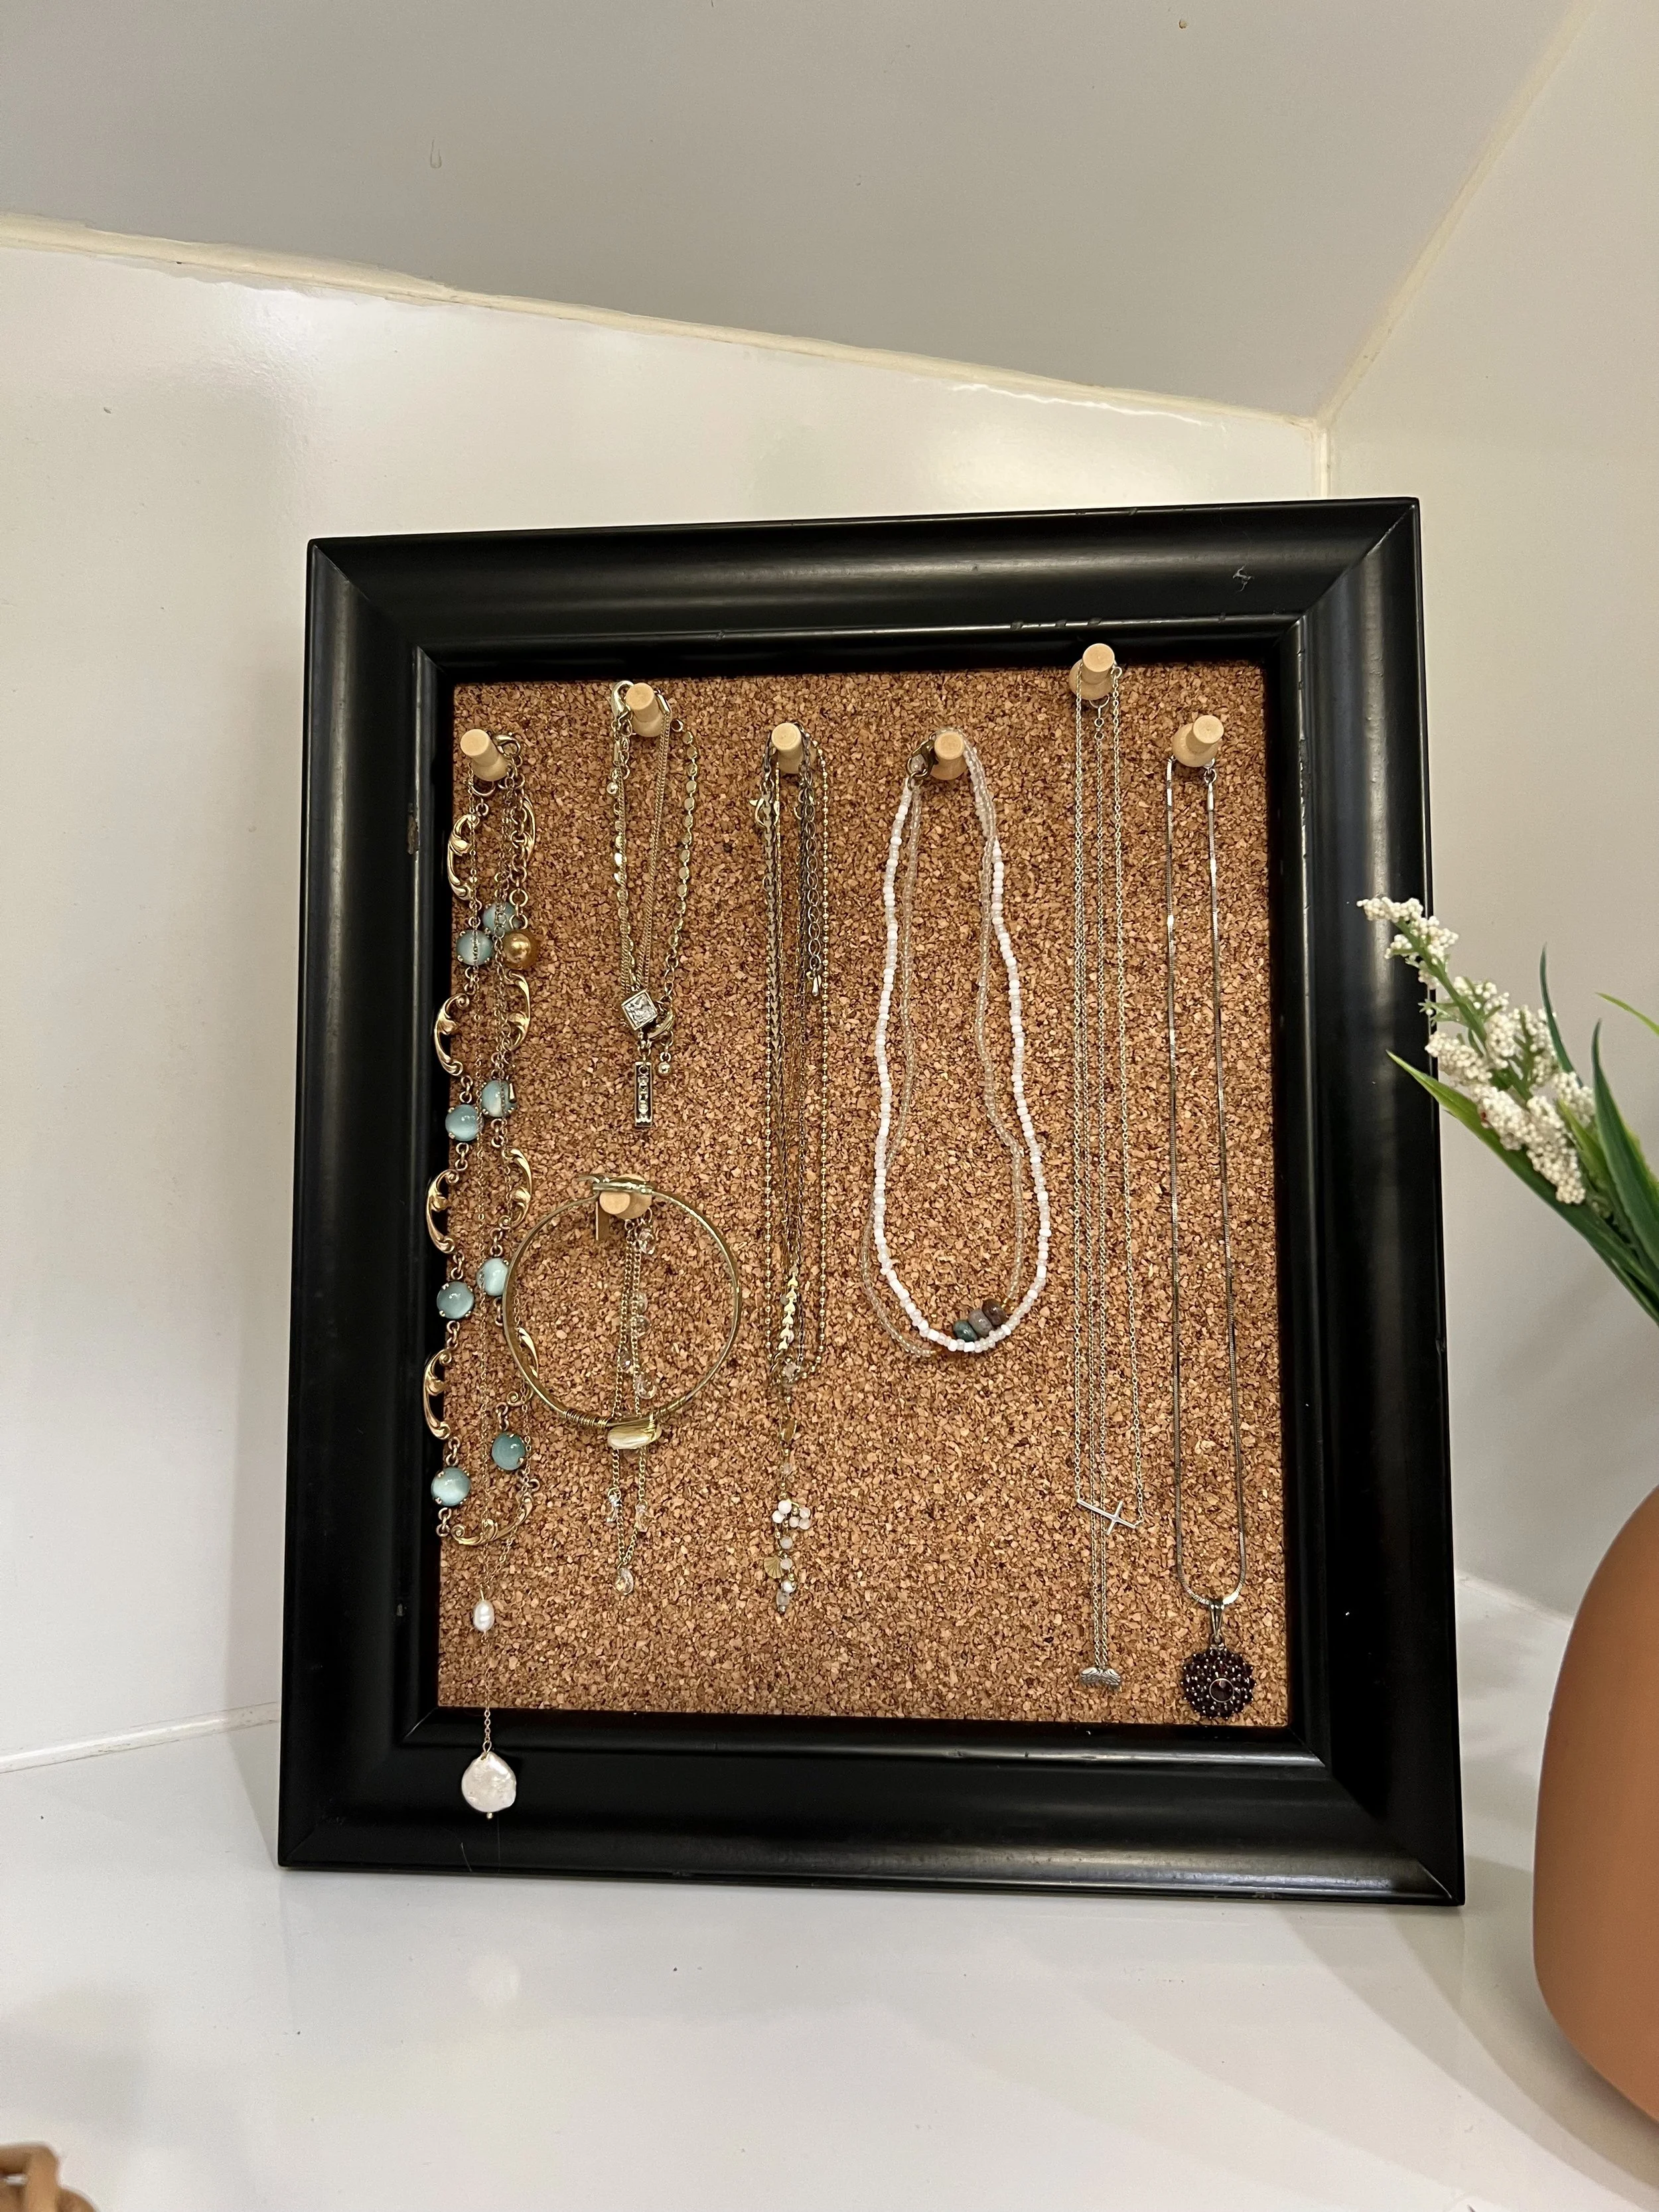
Super easy DIY to help you organize your jewelry!
Materials:
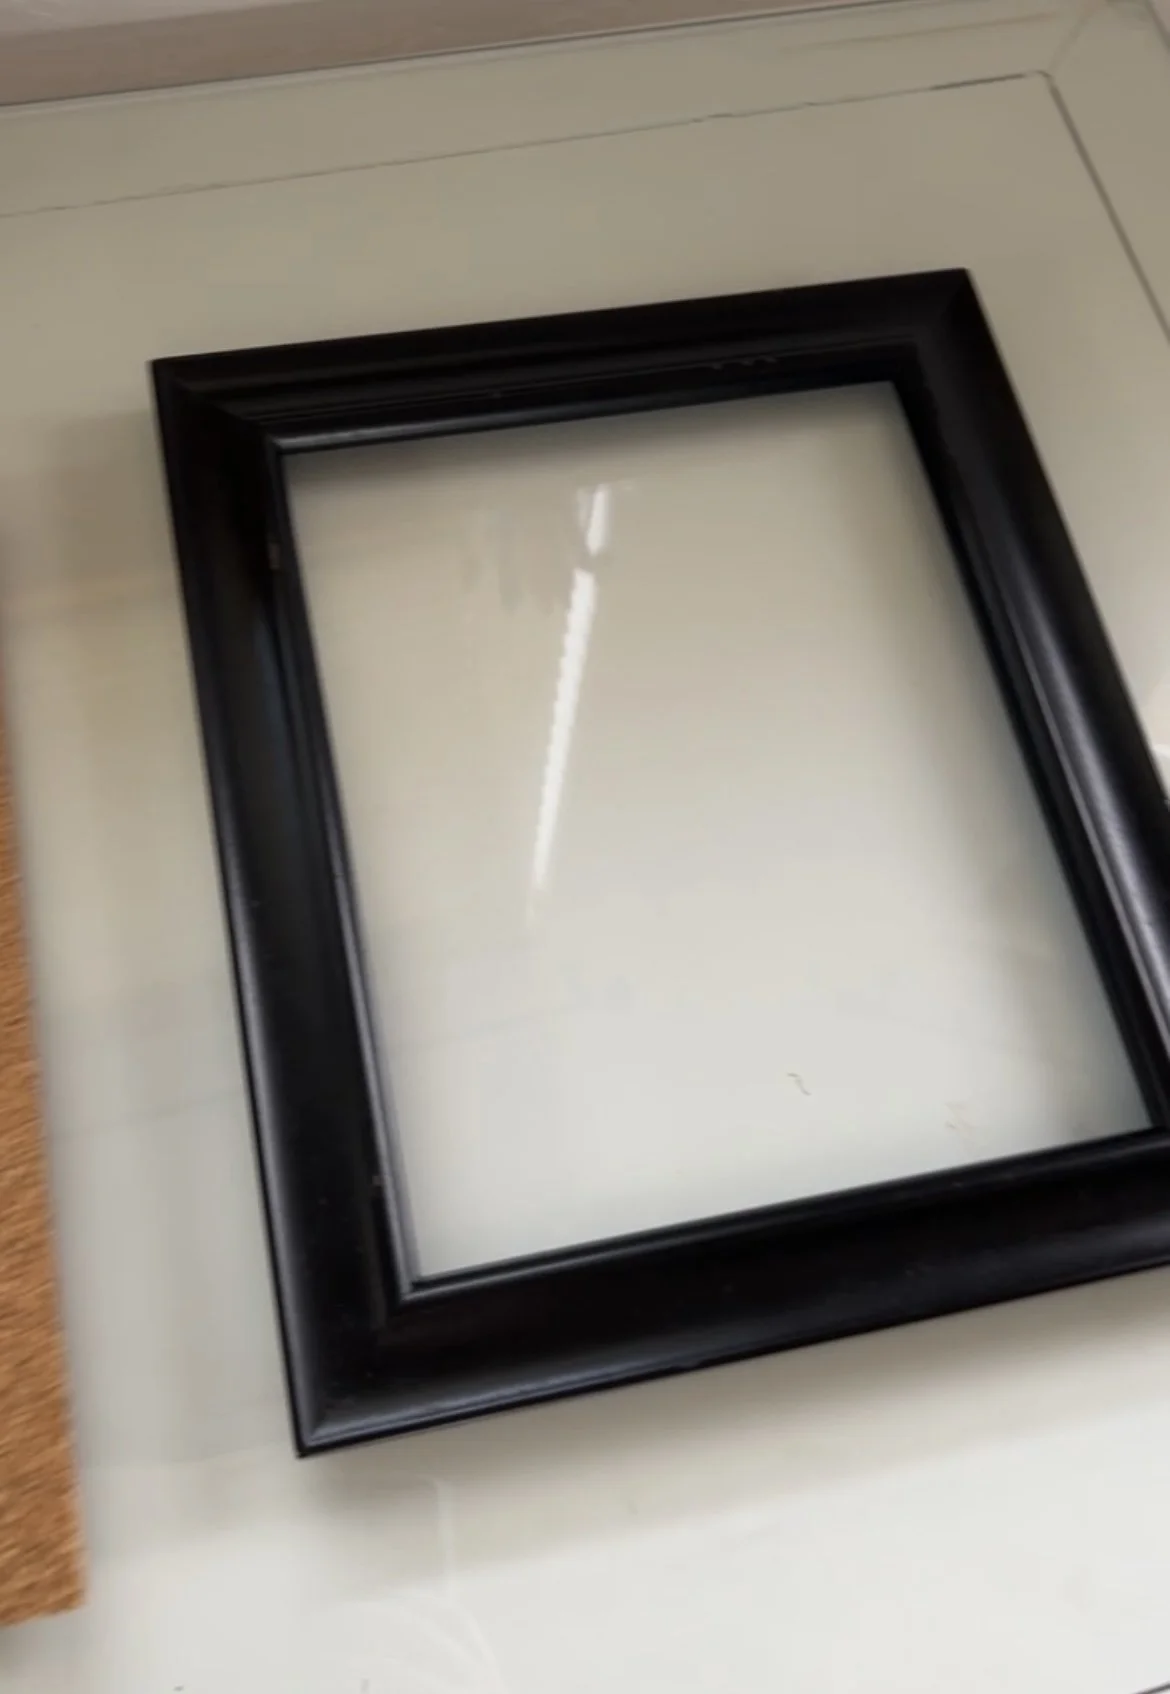
Picture frame- take off the back, the picture, and the glass. You just need the frame itself, but you can use the back to help it stand up if you like.
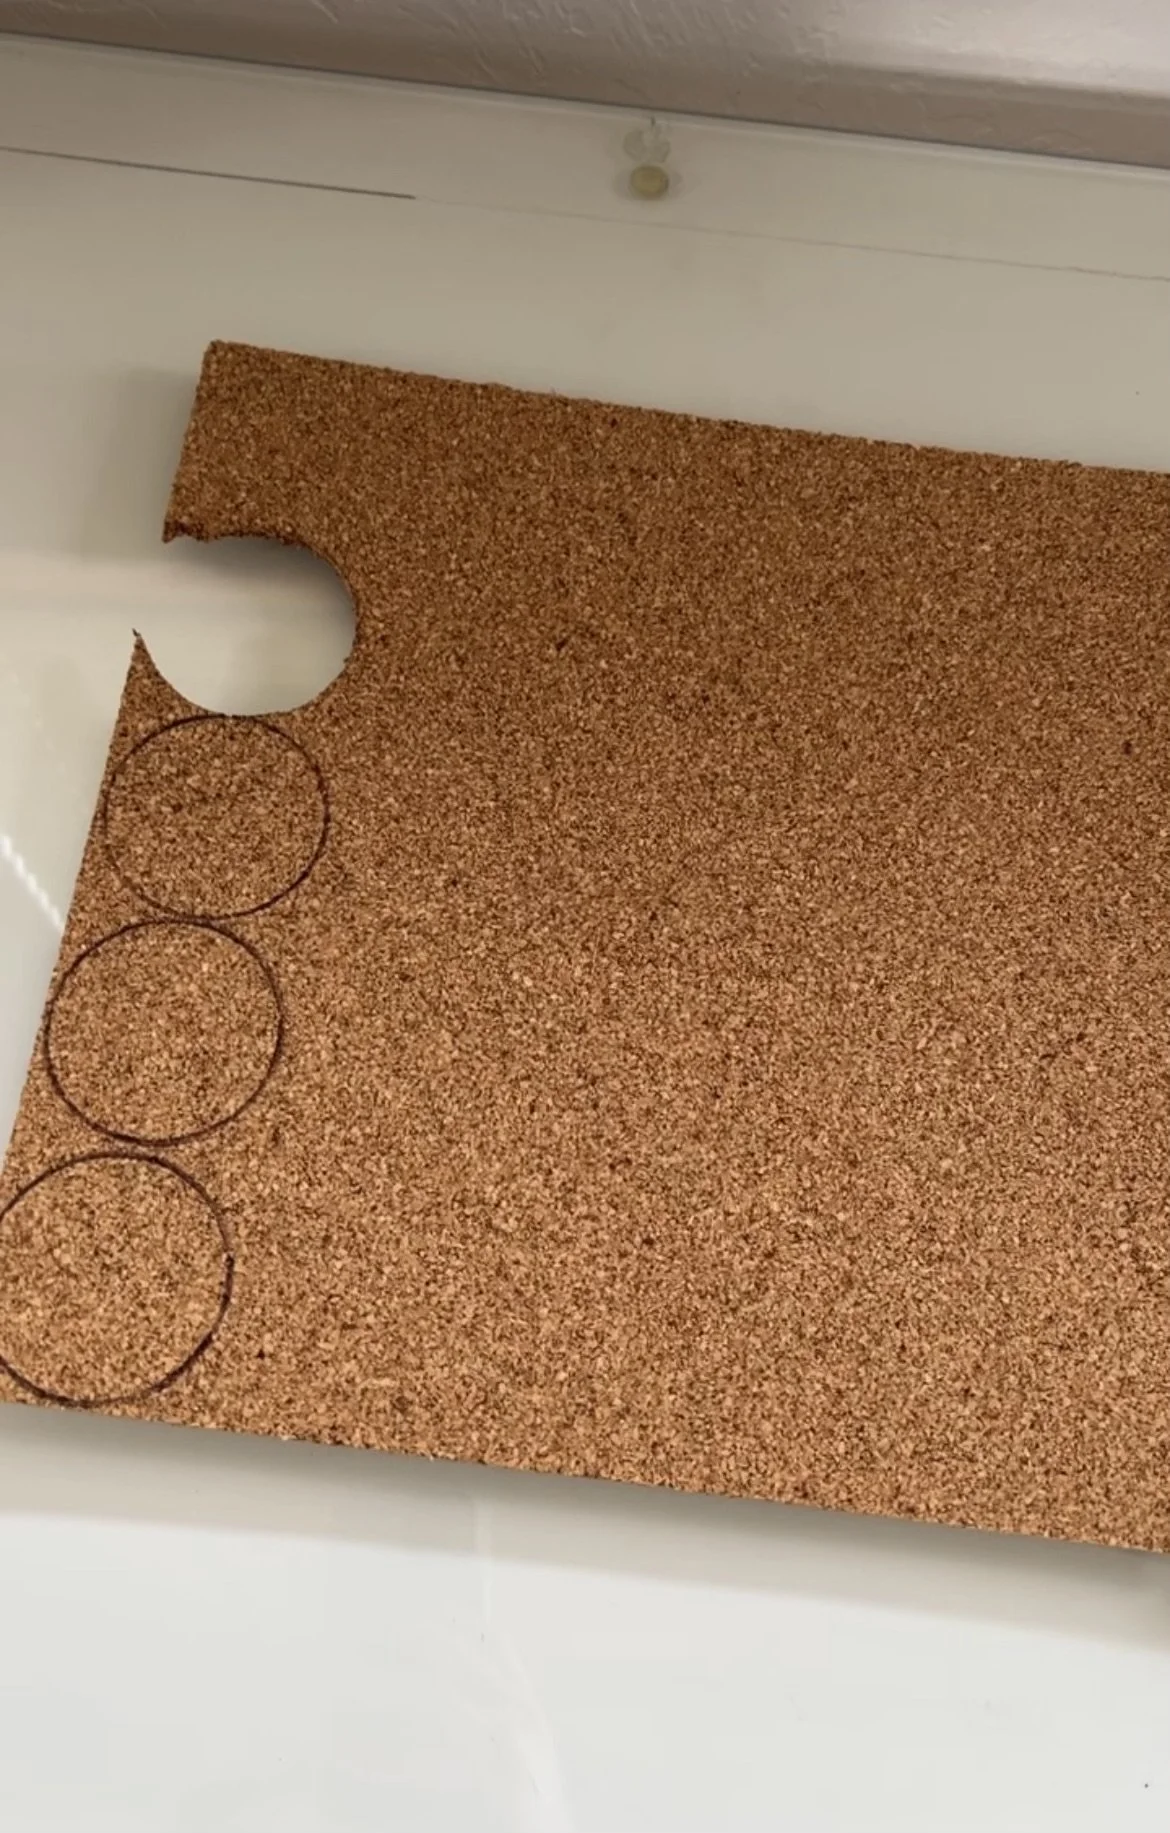
Cork- I had some leftovers from a previous project; however, you can buy small sheets at crafts stores. You can also cut some from an old corkboard. Here is some cork on Hobby Lobby’s website.
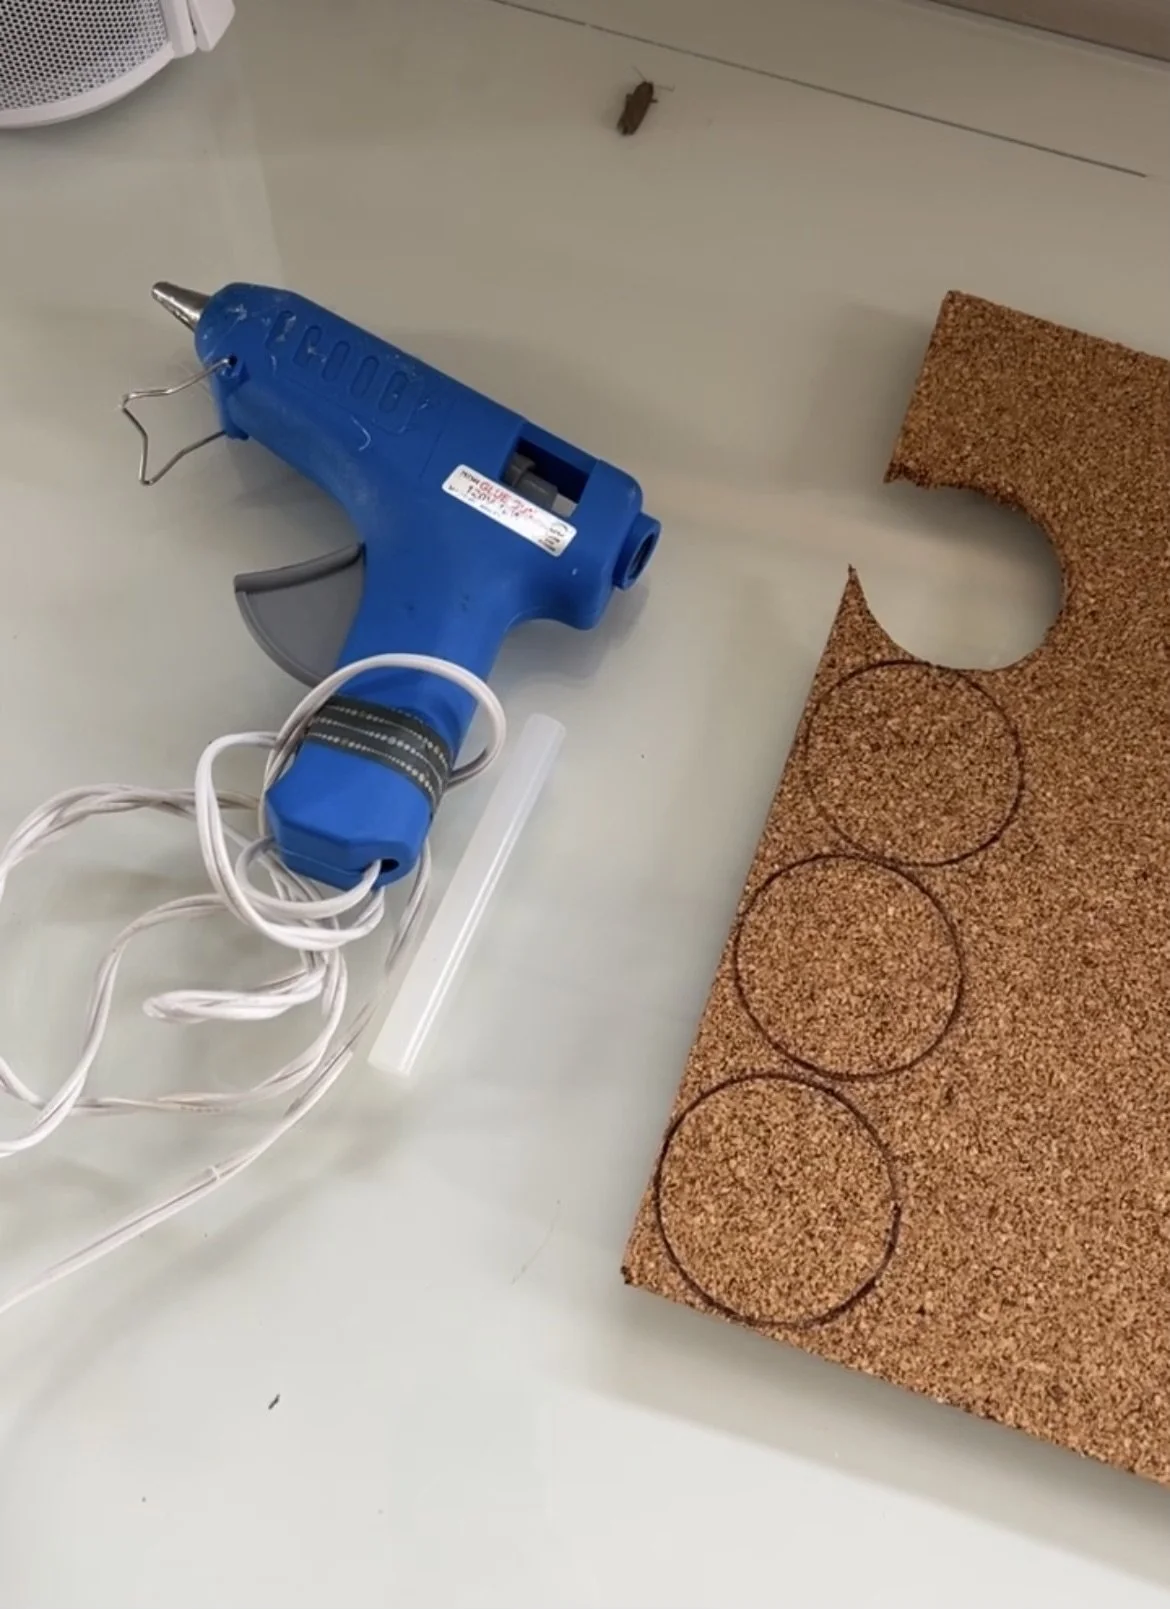
Hot glue gun or any type of glue or tape.
Thumb Tacks
(Optional) decorative paper and/or spray paint to paint the frame
Assembly
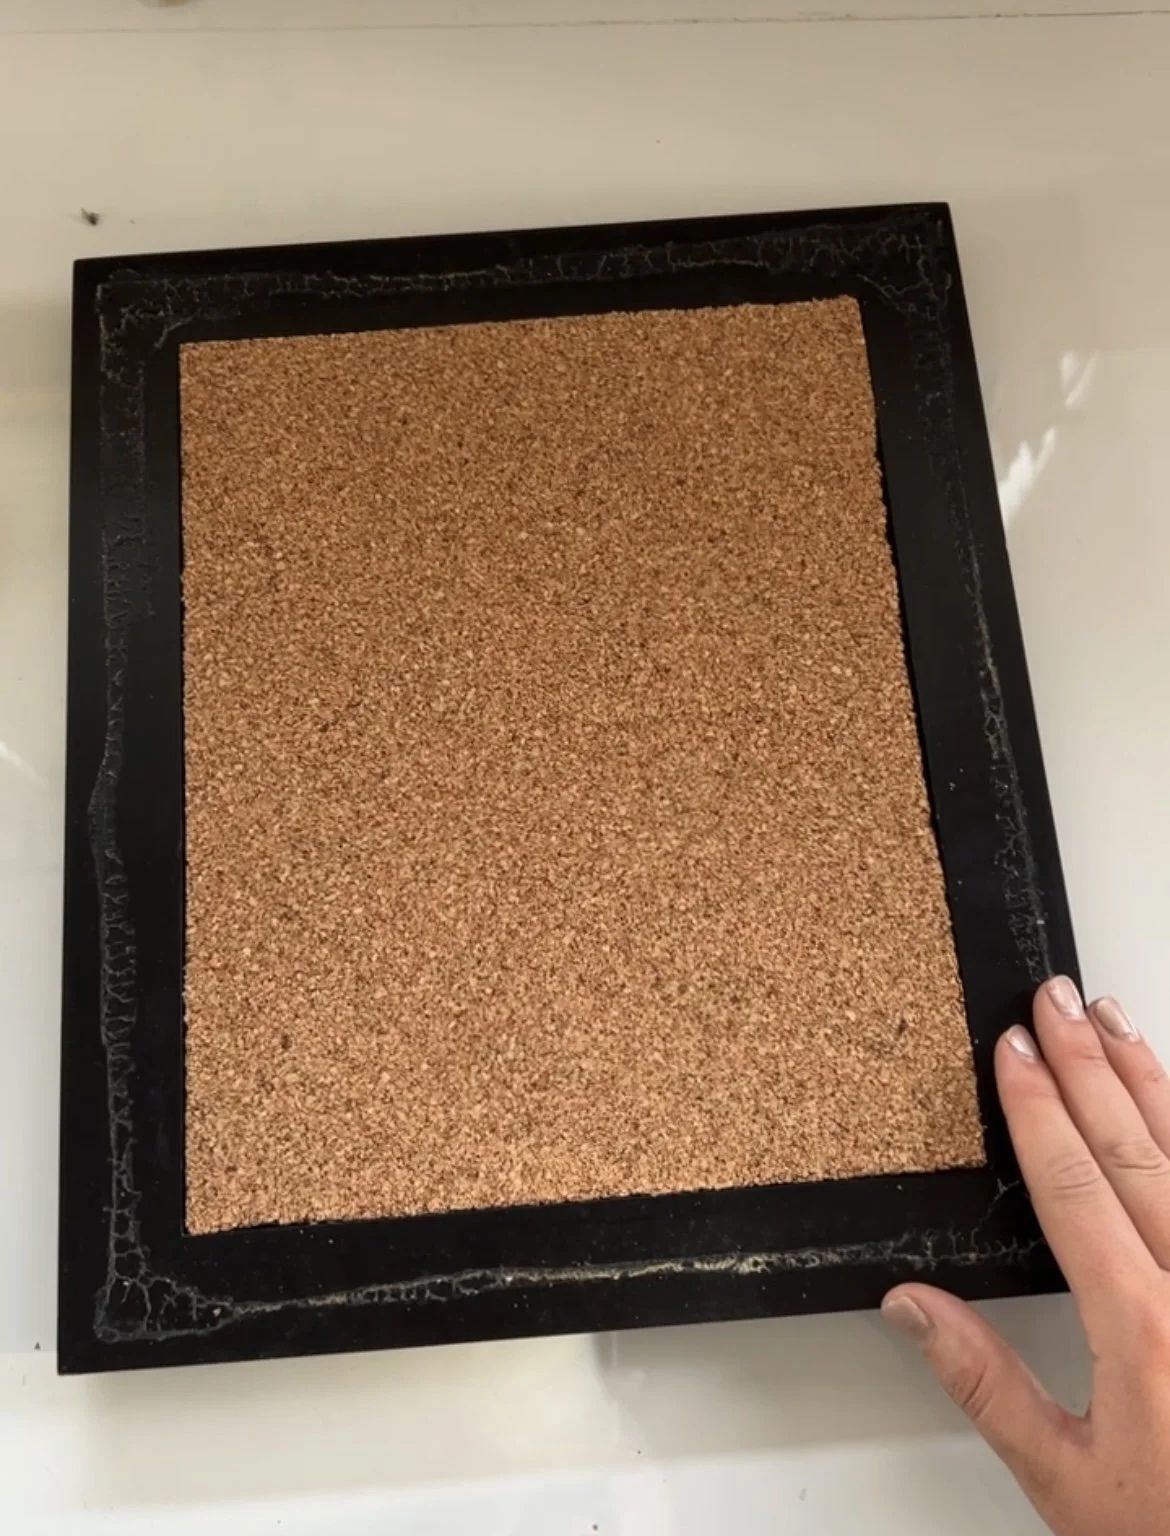
To start this super easy DIY, cut the cork to fit inside your frame. At this point, you can also paint your frame and your cork if you so wish. I also thought if you have some pretty fabric you could put that over the cork as well.
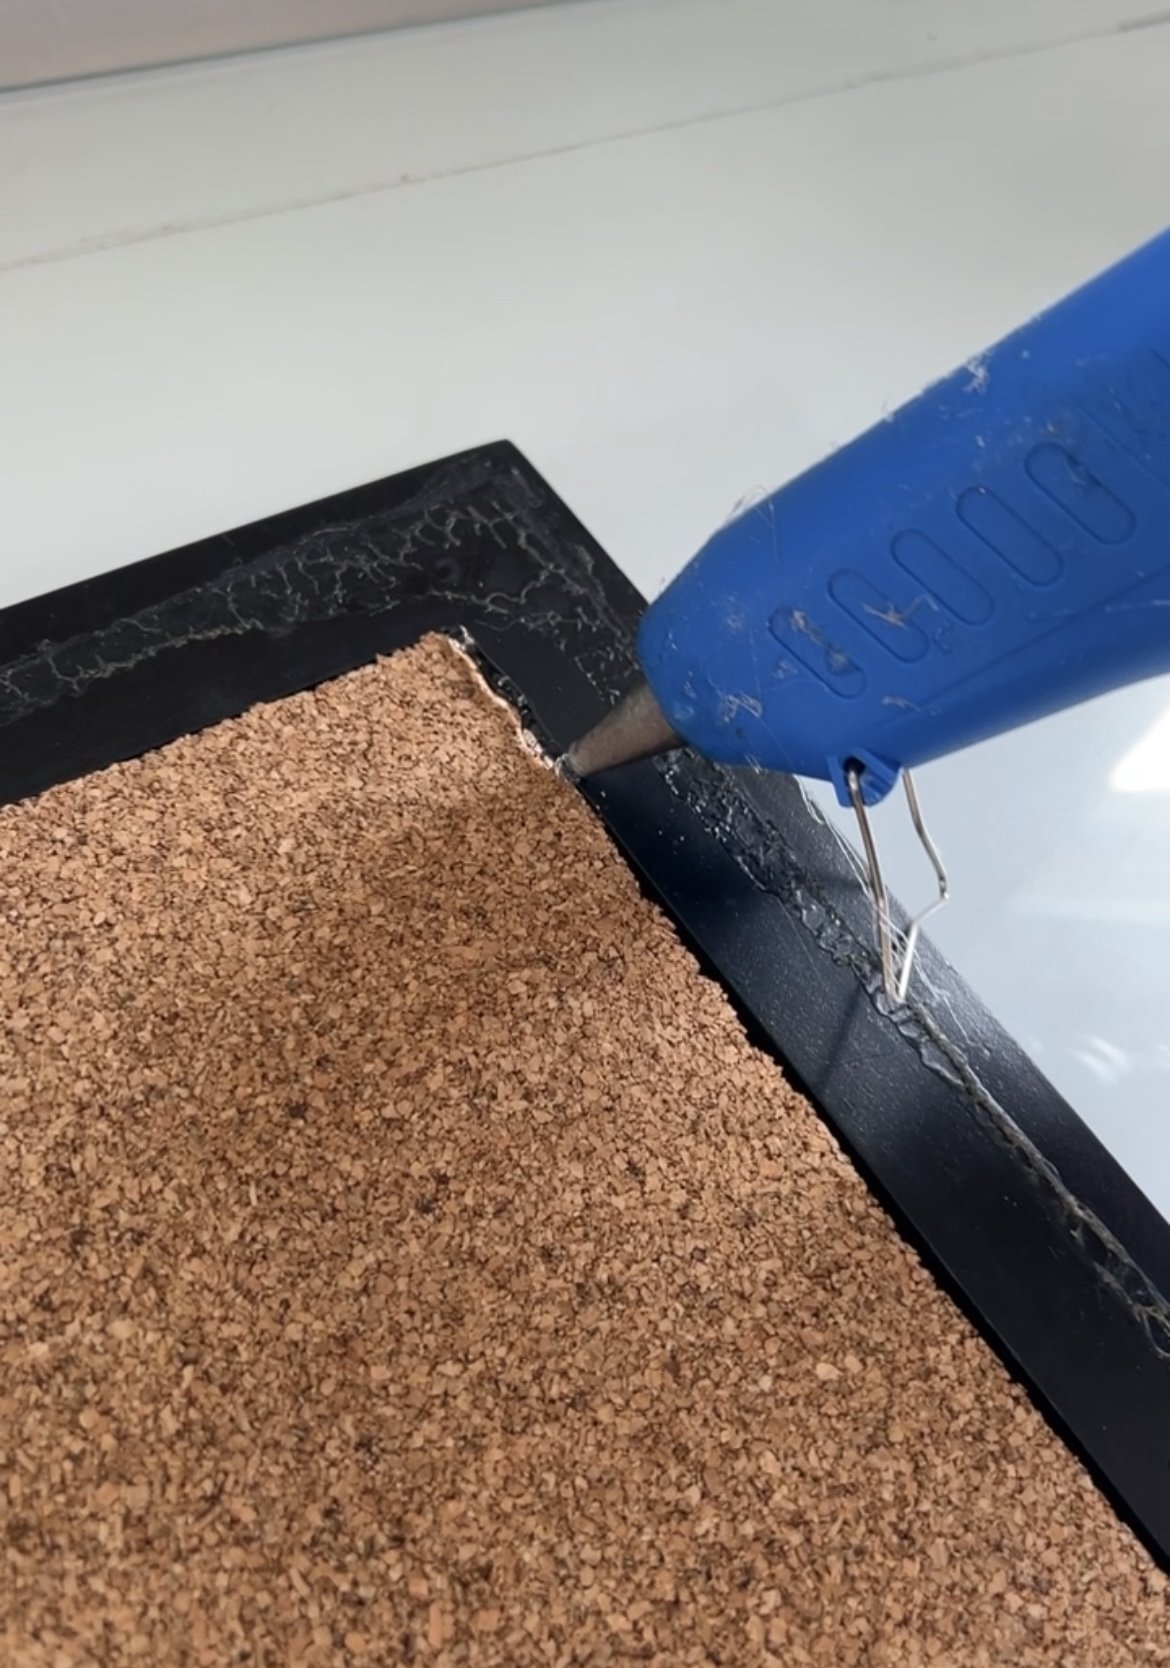
Once you have made sure it fits use the hot glue gun to secure it. I didn’t mind if it got a little messy on the back because I used a piece of card stock to cover it.
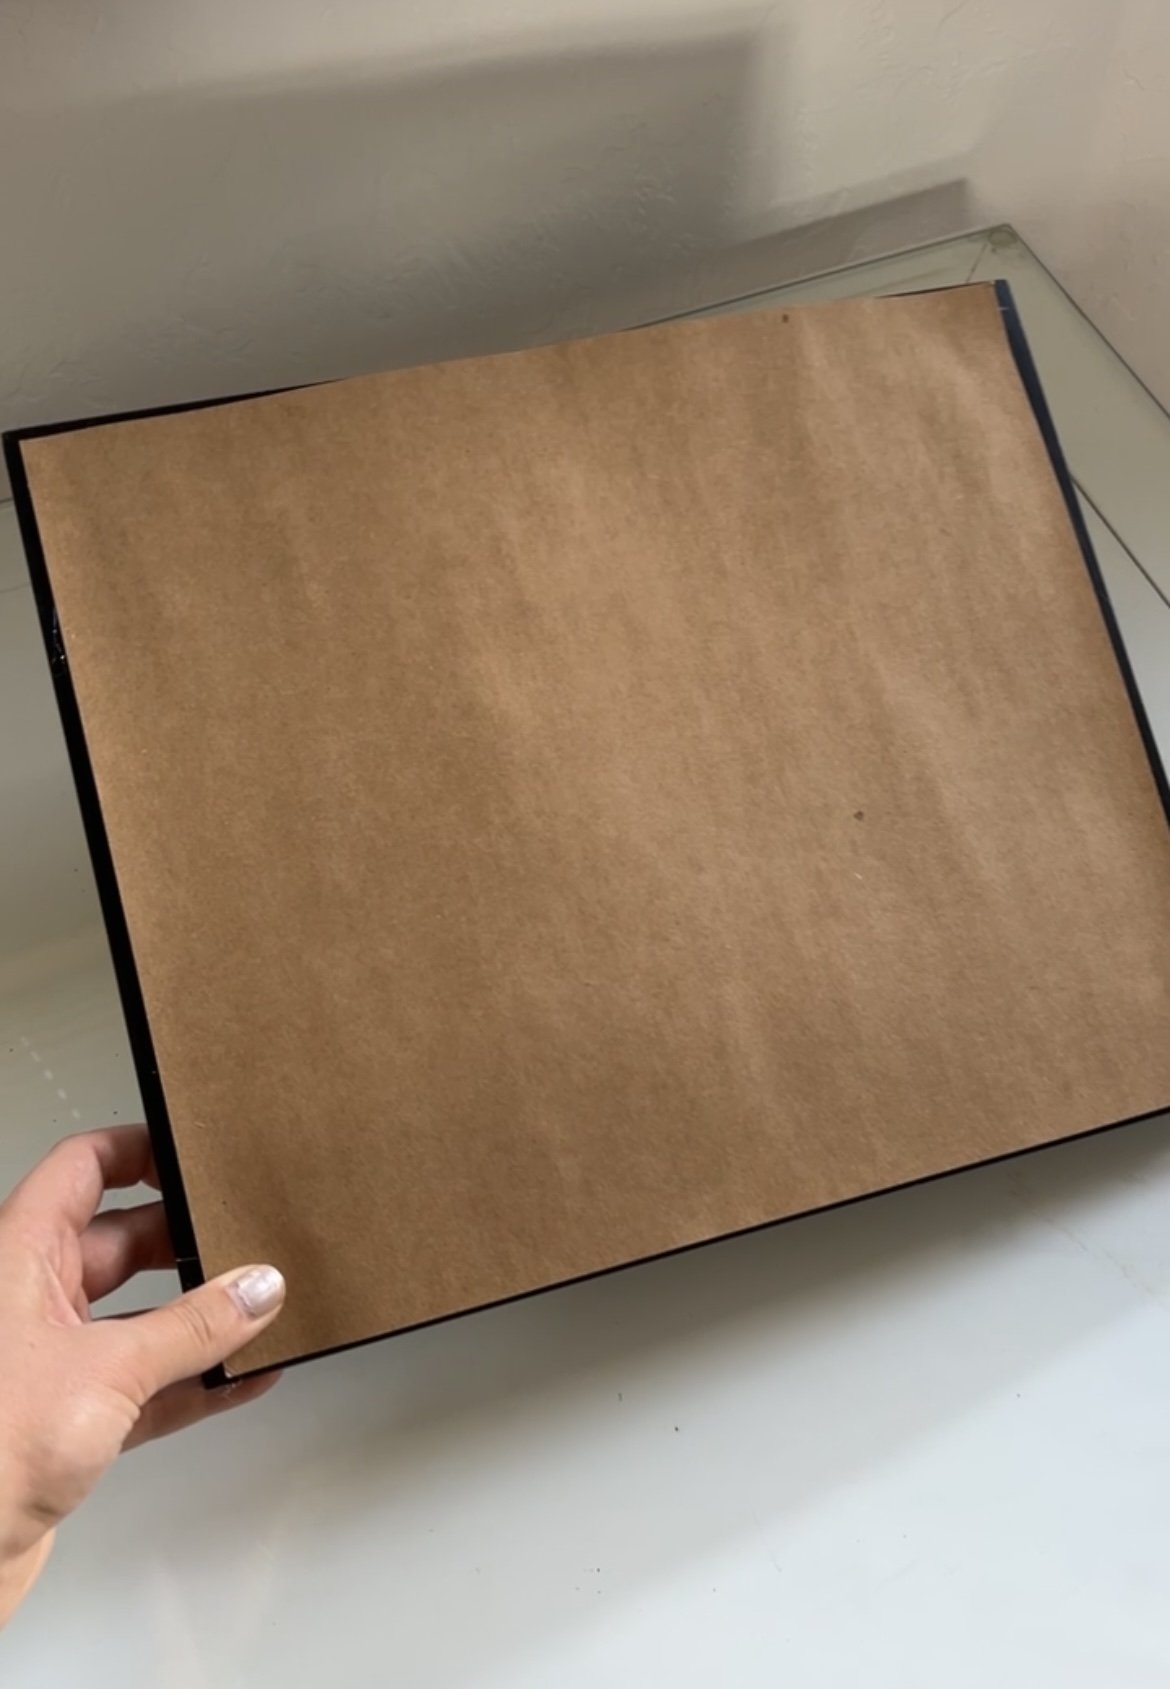
If your frame had a back you could also glue that back on and use it to prop the earring display up. I, however, didn’t so I put the piece of paper on the back to give it a more finished look.
Lastly, all you need to do is add some thumb tacks and the necklaces or bracelets you wish to display!
I thought this would be a fun project to share with you all because it is SO EASY to make, completely customizable, and relatively inexpensive. It might even be free if you have all of these things lying around as I did!
If you try it out please send me a picture either on Instagram or TikTok. Below is a reel from my Instagram showing you how to do it step by step.
That’s it for now! Happy crafting!
Blessings,
Lexi