Free Scrunchy Pattern
Hello friends,
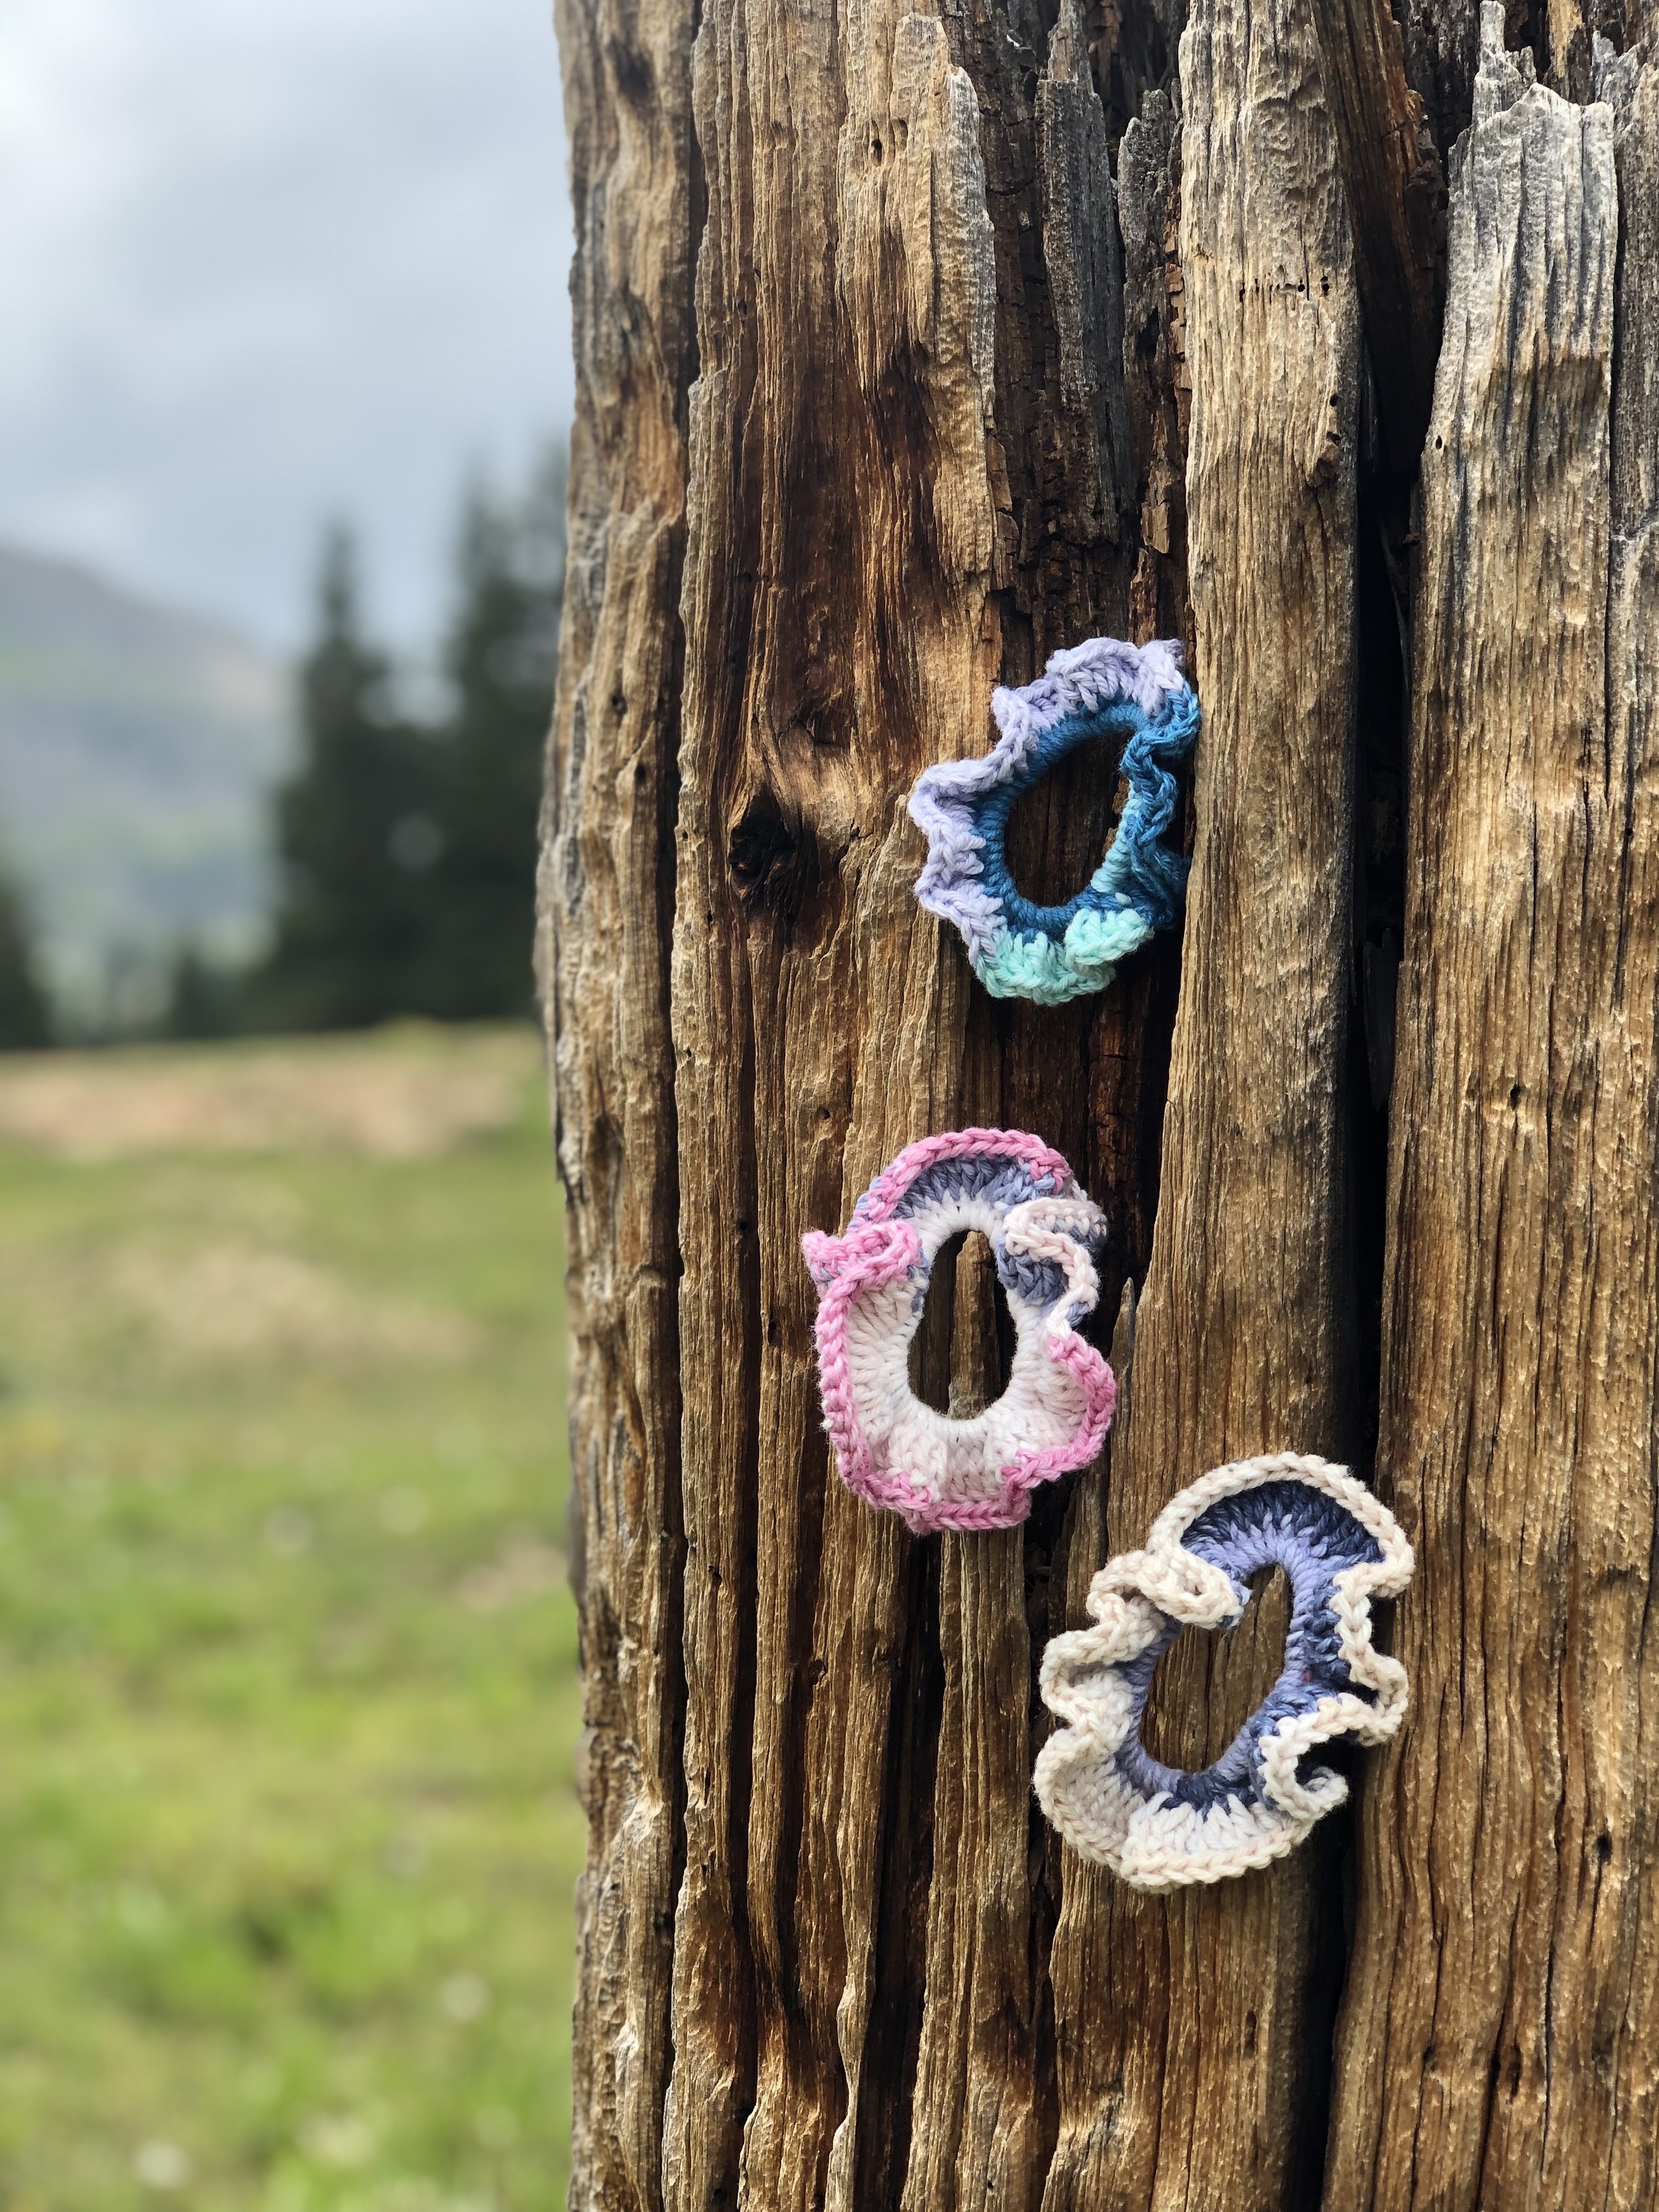
I am so excited to share with you all a free scrunchy pattern! I love making scrunchies and once you have the hang of it, they are SO easy to make! When I first started making these it probably took me around 30-40 minutes; however, now I can make one in about 15 minutes. I say that just to give you some reference of time and not to discourage you if it takes longer. I have made A LOT of scrunchies so I have had a lot of practice. Take your time and be patient with yourself as you are adding a new material into the mixture (elastic).
Feel free to use this pattern any way you like and sell your scrunchies if you’d like, I just ask that you either tag my website or Instagram so I get some credit along with getting to see your beautiful creations!
How to Crochet a Scrunchy
Gather a plain hair elastic, yarn, and a corresponding hook.
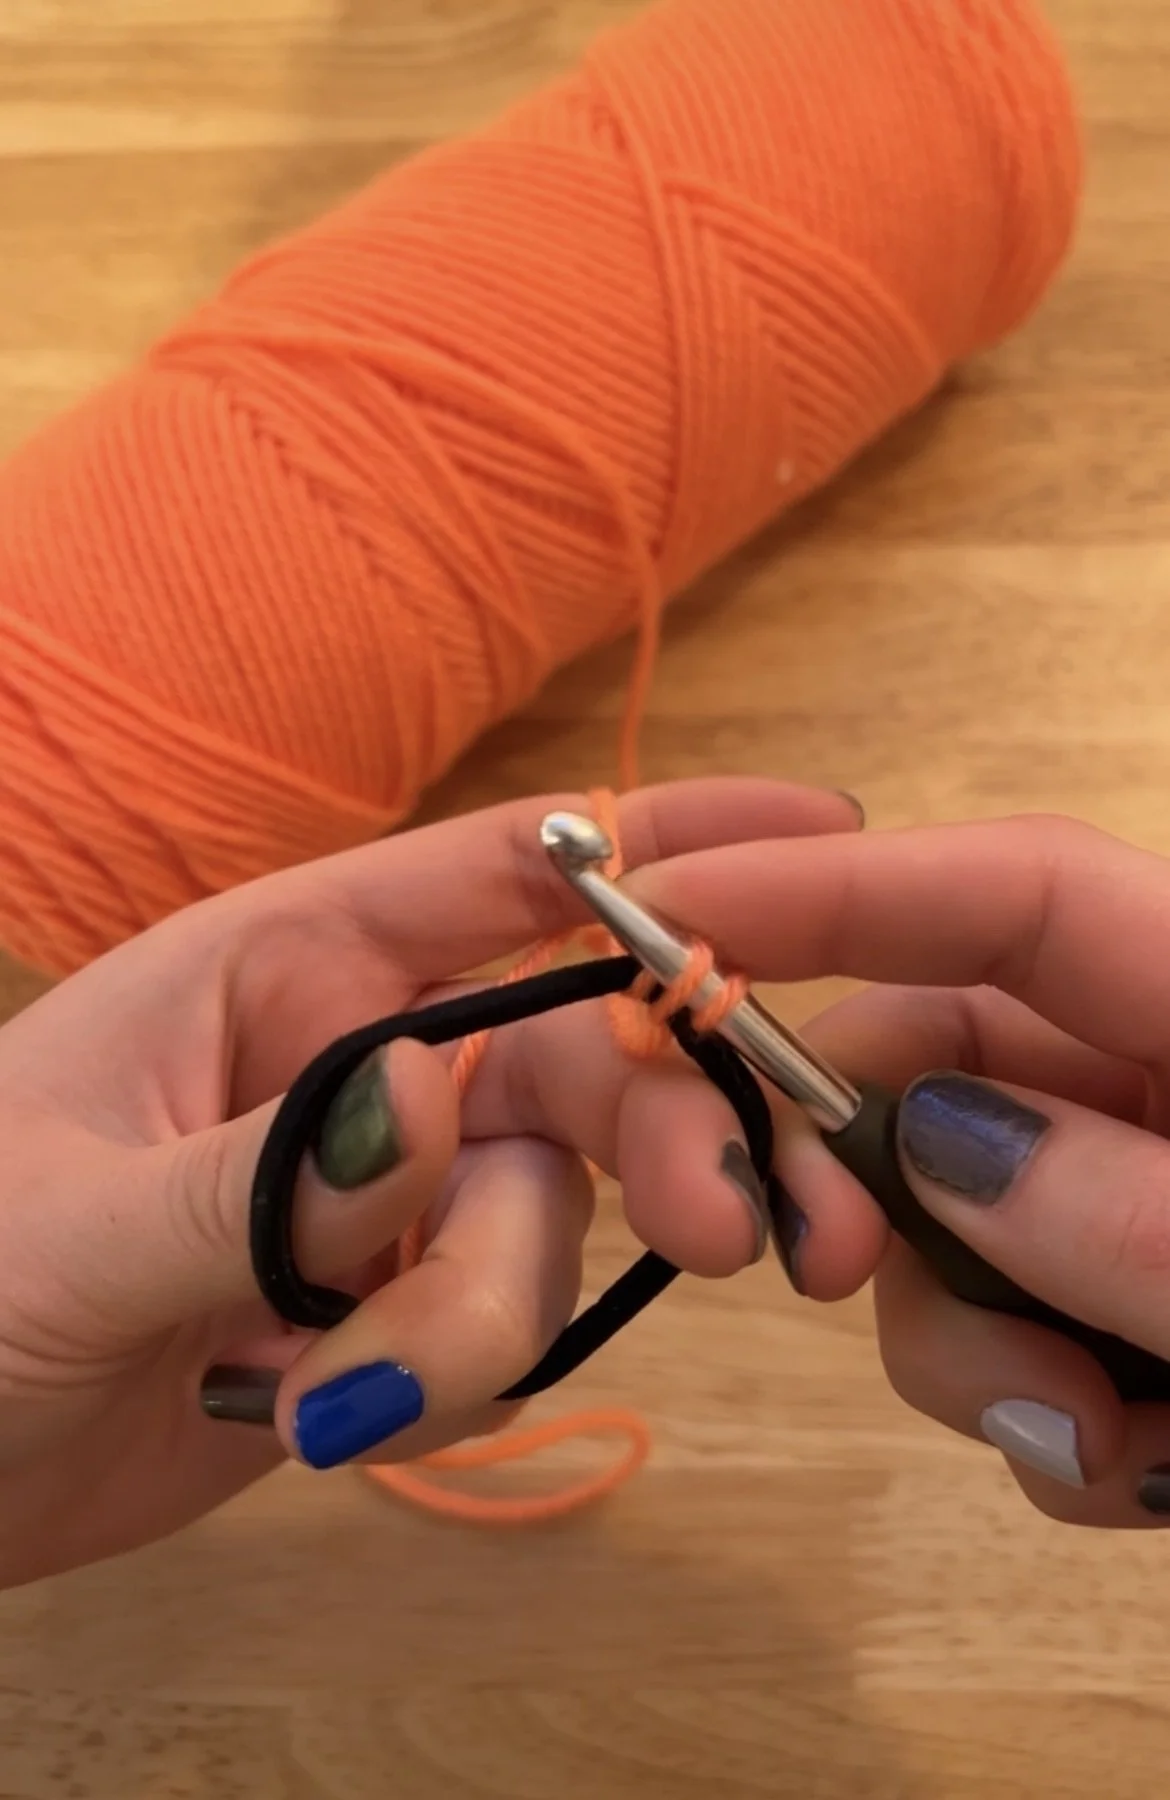
Tie a slip knot and single crochet around the hair elastic.
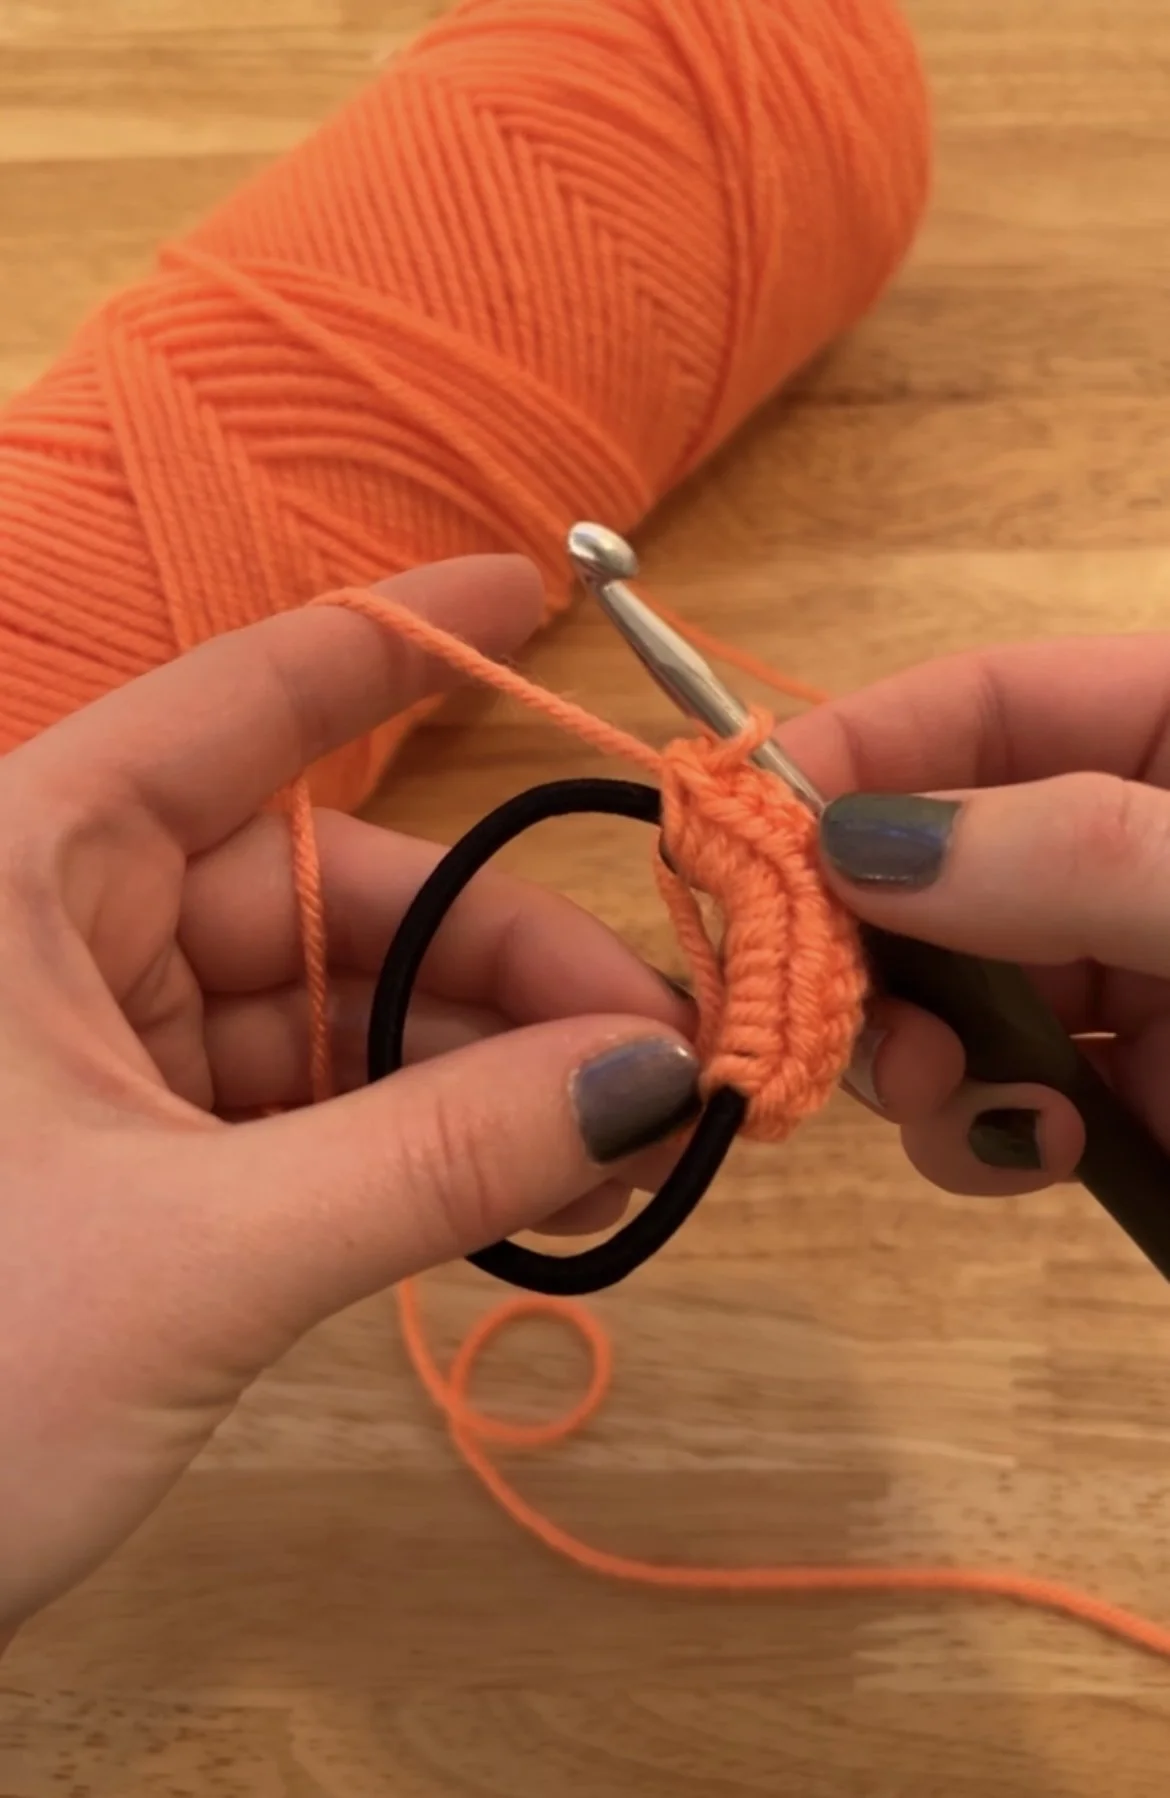
Make sure to create many single crochets to create the “scrunch”.
Slip stitch into the first stitch and then chain 2.
Crochet 2 half doubles into each stitch.
Slip stitch into the first stitch and tie off.
Scrunchy Pattern
Supplies:
First, you will need yarn and a corresponding hook. I like to use softer yarns because I find more corse yarns aren’t comfortable on my head or around my wrist.
Second, you will need elastic. You can either buy plain elastic hair ties (I like to buy plain black/white ones from the store). You can also buy colored ones to match your yarn. Another option is to buy stripes of elastic, cut them, and tie a knot to make them a circle. This option definitely works I just find the knot to be annoying and the elastic stretches out faster.
Lastly, you will need some scissors to cut the yarn when you are finished.
Making the scrunchy:
First, you will want to start out with a slip knot and put your hook through it. Getting the yarn on the elastic is the hardest and most awkward part of scrunchy making especially if you aren’t used to crocheting on something. Simplistically, you will just single crochet around the elastic. So hold your hook in one hand and the elastic in the other. Reach through the elastic with your hook and pull the yarn through to yarn over; you will have two loops on your hook and then yarn over again and pull through both loops. Then repeat this step all the way around the elastic. I usually end up with somewhere around 80 single crochets; however, this can vary and will depend on the yarn you use. For that number I used Lion Brand’s Let’s Get Cozy: Lazy Days which recommends you use a size 6mm hook.
Here are some pictures explaining (for a video head over to my Instagram)


As you are crocheting around the elastic make sure that you are squishing your stitches to create that scrunch effect. You don’t want your stitches to be super far apart because then you will be able to see the elastic. When you think you have enough stitches try stretching the elastic (yes some of the elastic will show through) and if there are big gaps maybe add a couple more stitches.

Once you have crocheted all the way around and are happy with the amount of stitches simply slip stitch into the first stitch on your elastic.
Then you will want to chain two and put 2 double crochets in each stitch you made. You can also chain two and do 2 half doubles or chain three and do 2 treble crochets. It is very easy to switch up and make it exactly how you like it. If you like your scrunchies to look bigger then do a bigger stitch like a treble or half treble. If you like them in the middle do a double or half double. If you like them really small you can simply keep them with just the single crochet around or you can ad another row of single crochet as well. It is totally up to you!
Once you finish your second row do another slip stitch into the first stitch and tie a knot and tuck your ends in. You can even just weave the working end down through the two rounds and to the tail you started with and tie them together. I feel that this just makes everything a little more secure.
Again, this pattern is completely customizable so go crazy. Figure out what kind and how many stitches you like and do that. I have found that sometimes I like the look of doing 2 double crochets in one stitch and then 1 double crochet in the next stitch, instead of 2 double crochets in every stitch. So go on and make yourself a scrunchy that is just how you like it! (and if you post it don’t forget to tag me! @s.and.l.handmade)
Blessings and happy crocheting!